
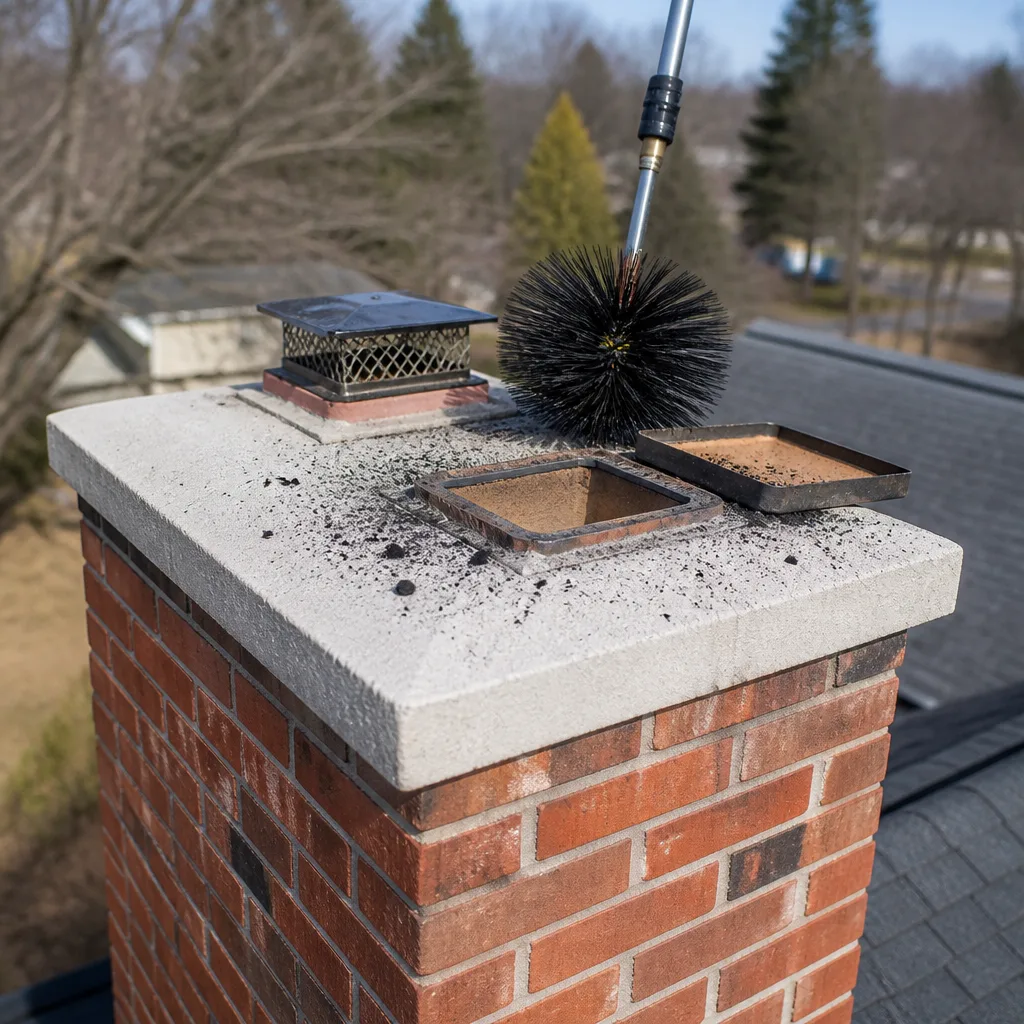
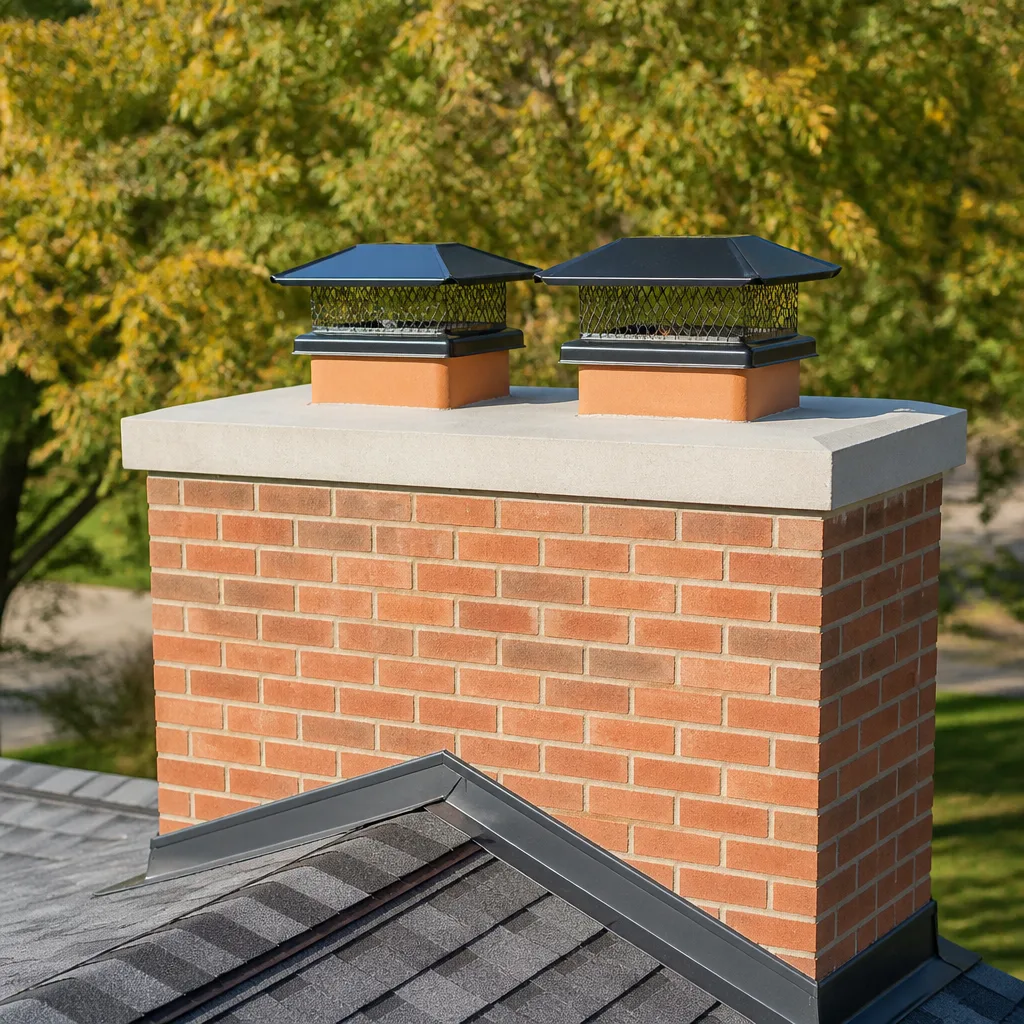
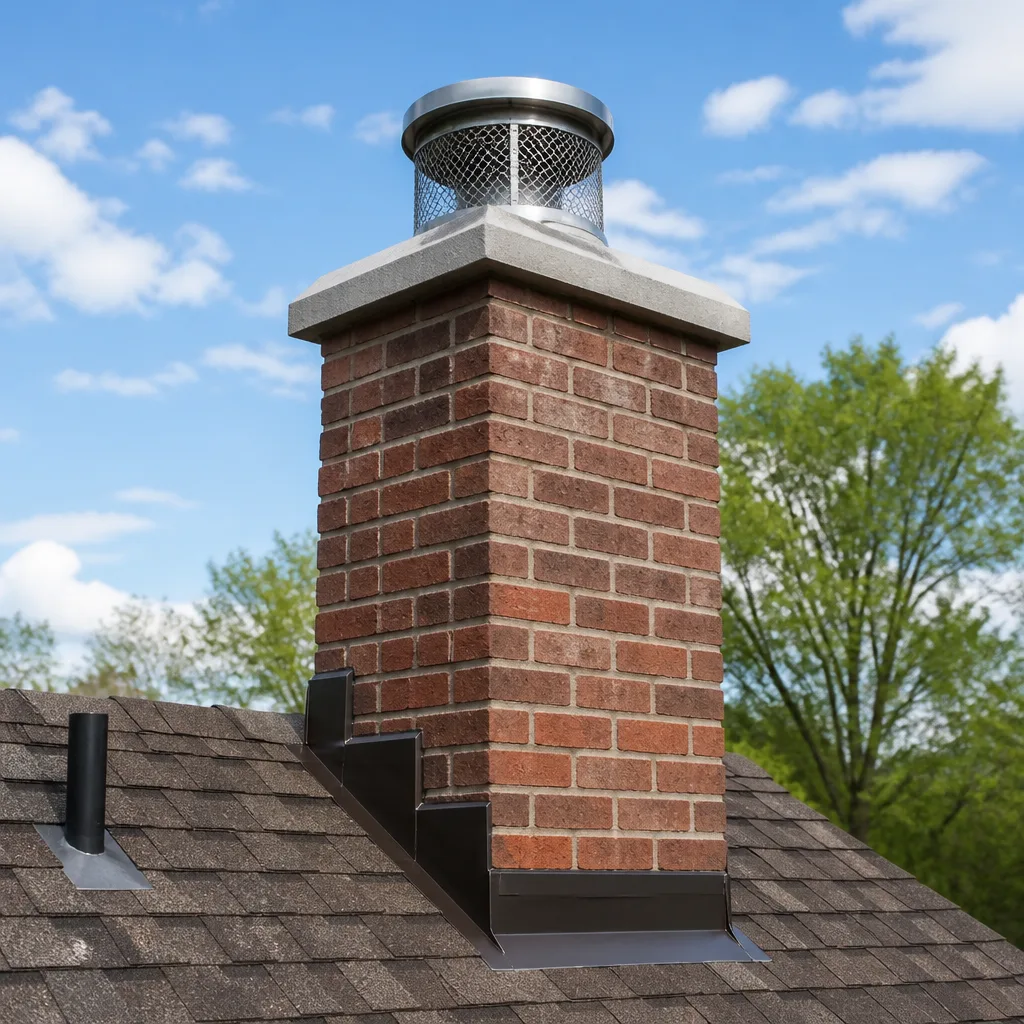
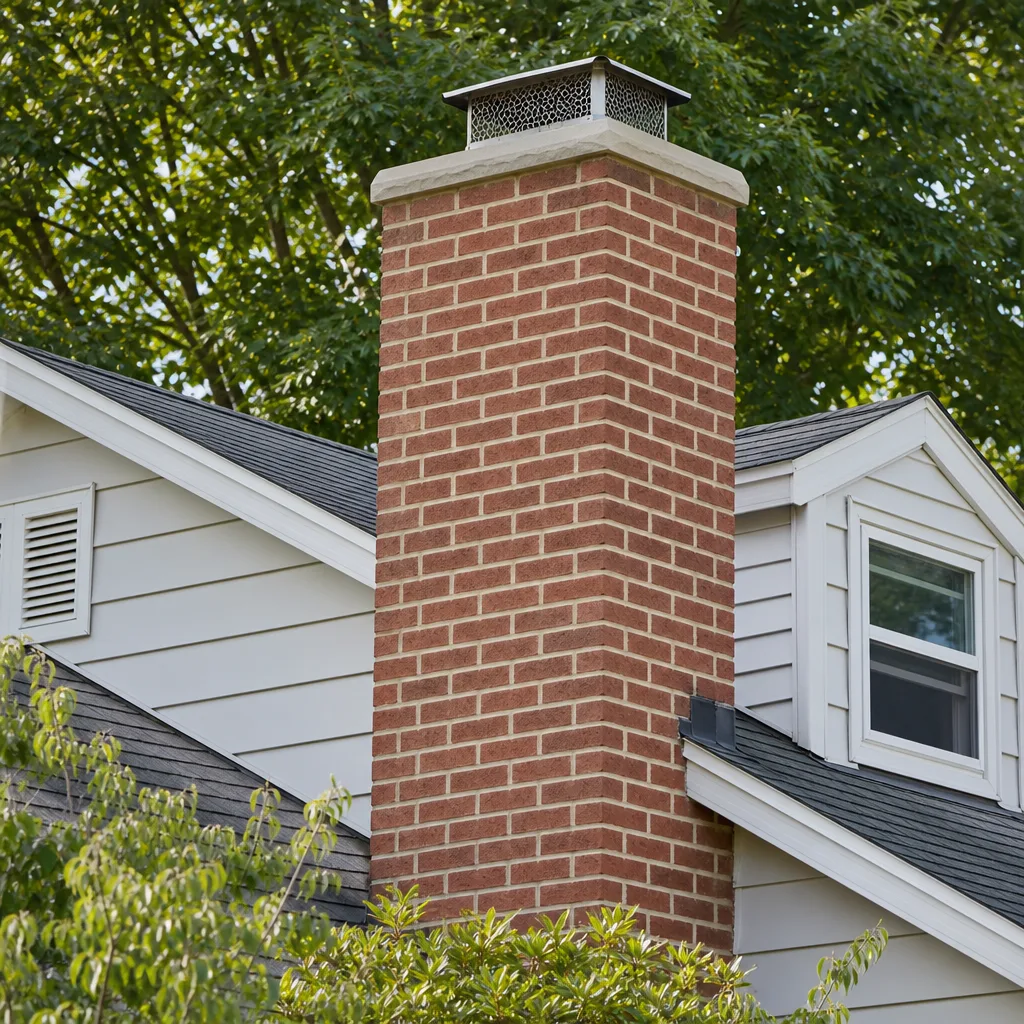
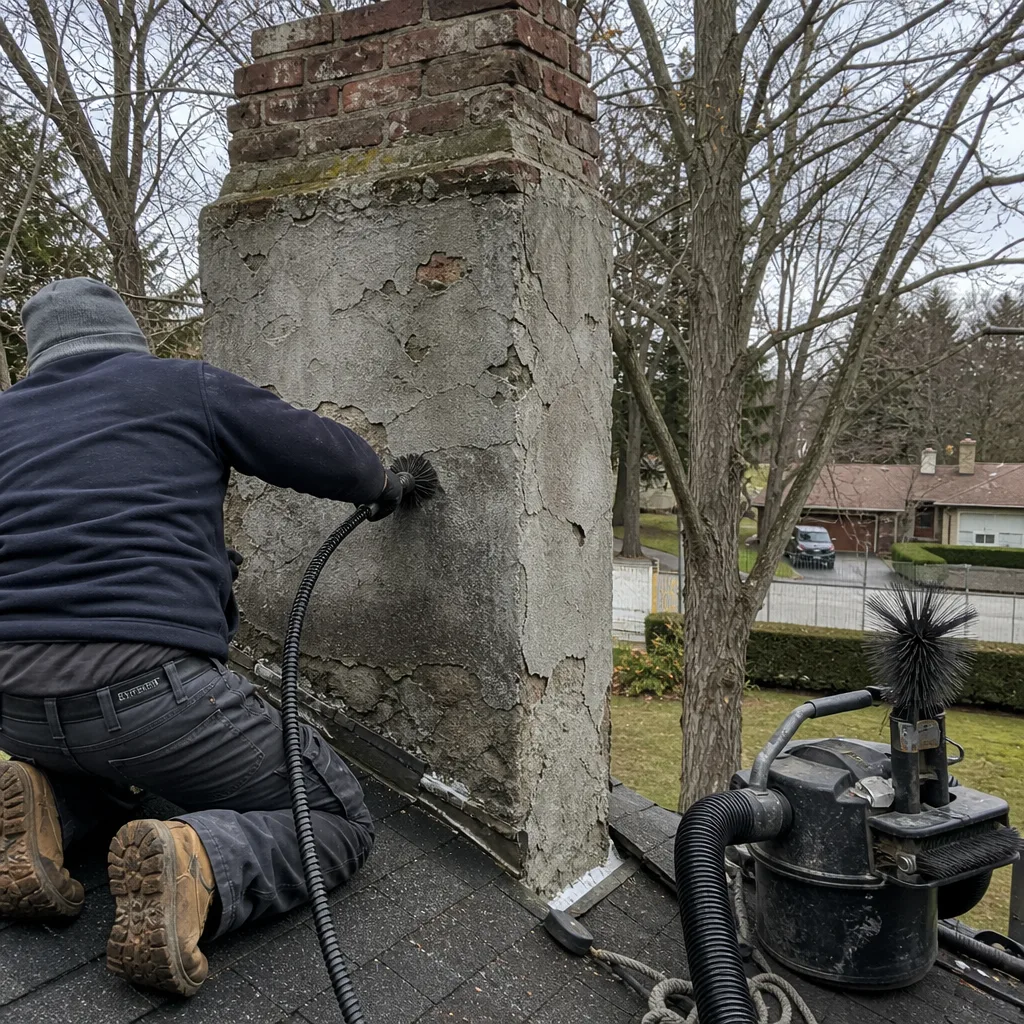
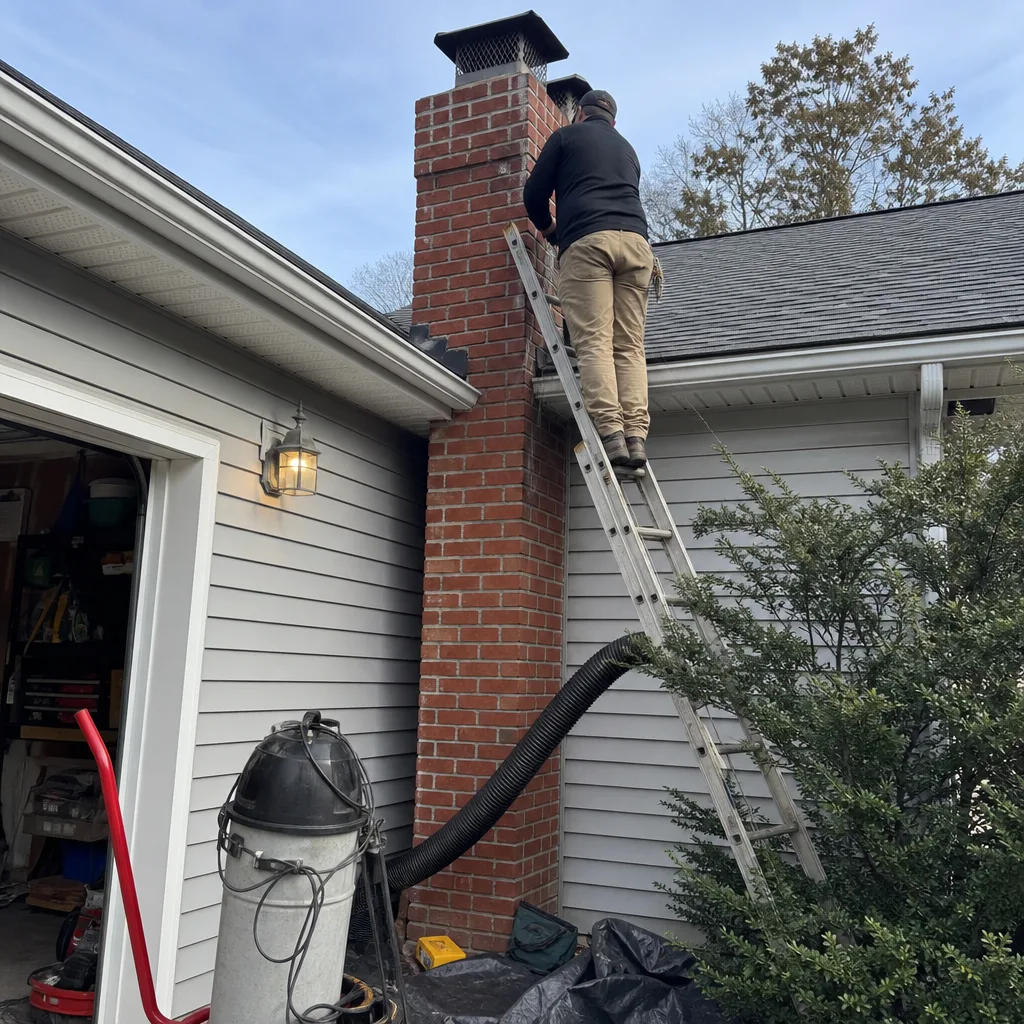
Level 1 sweep and inspection to the NFPA 211 annual standard - flue, crown, cap, and flashing checked and photographed
Chimney sweep logs do not sweep chimneys. They loosen some creosote - which then falls where a brush and vacuum still have to collect it.
 Before
 After
After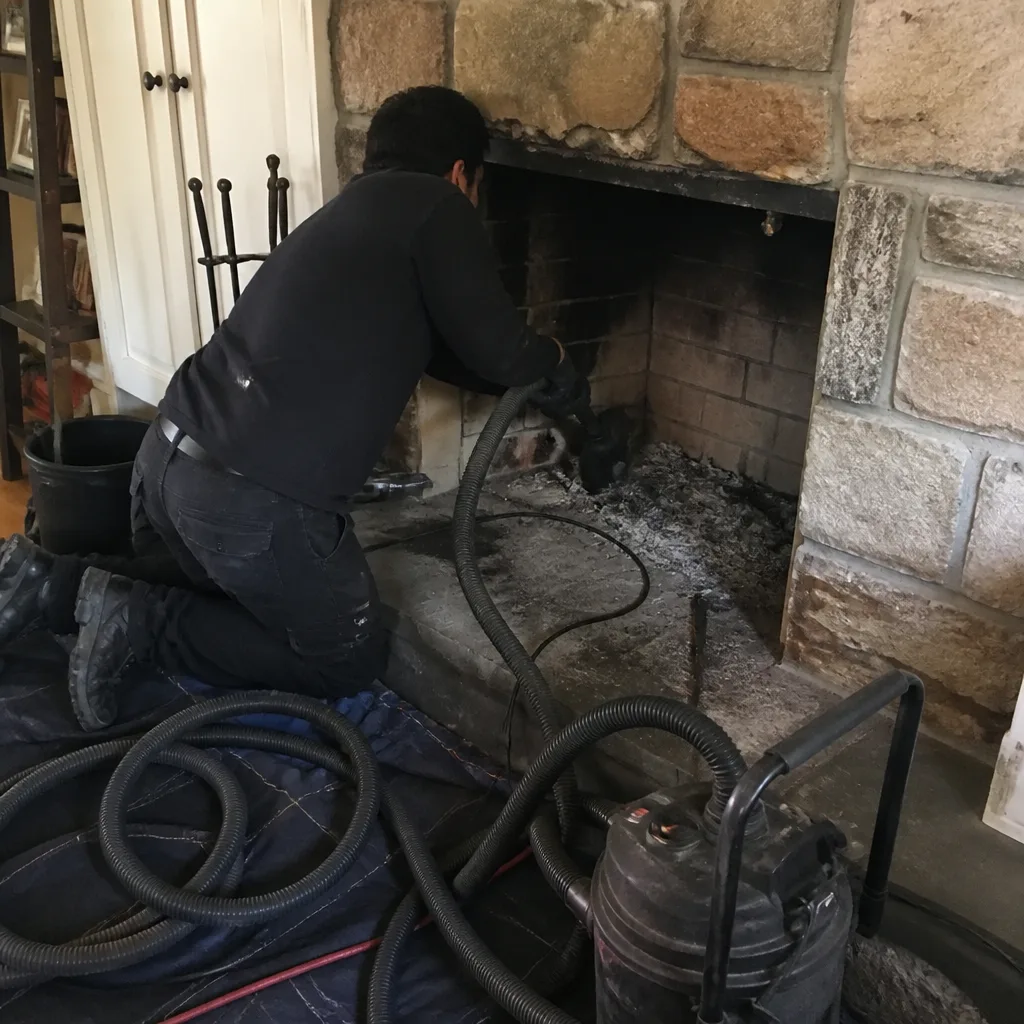 Before
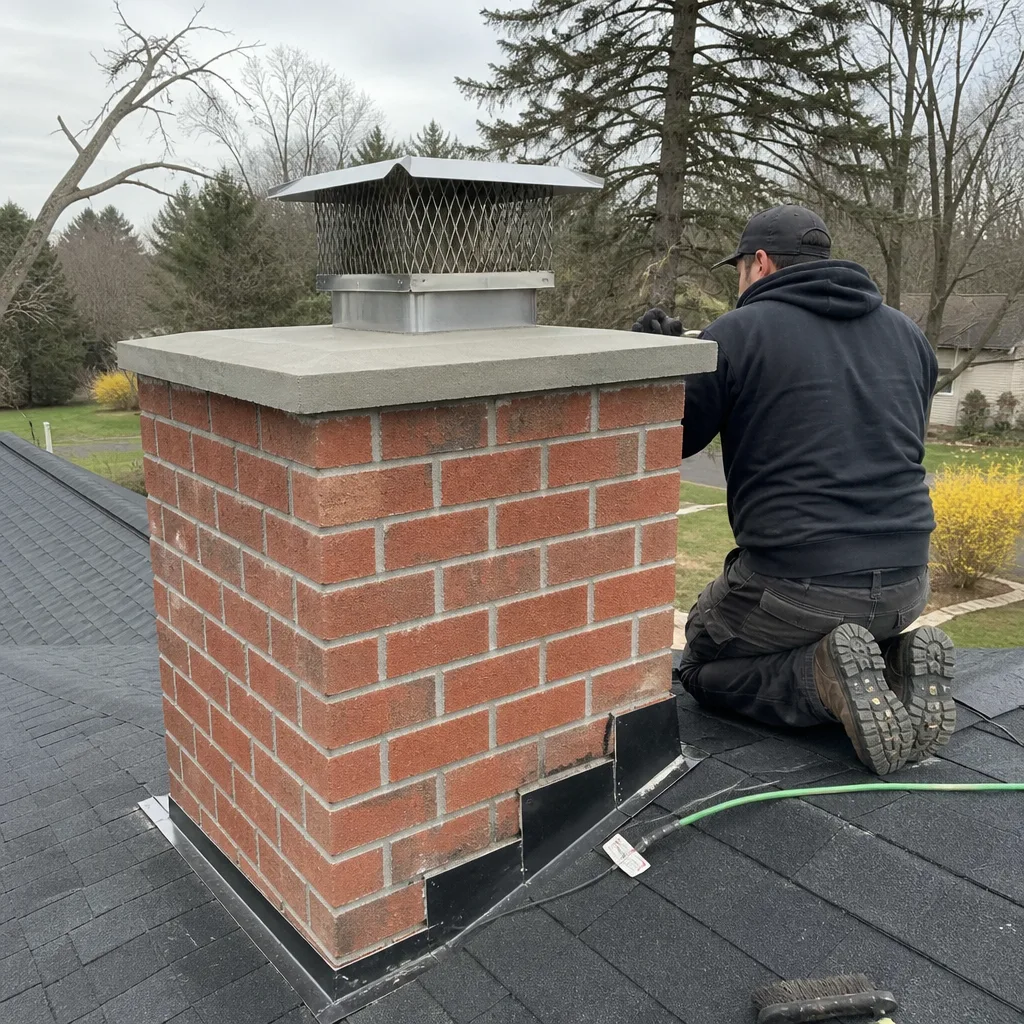 After
After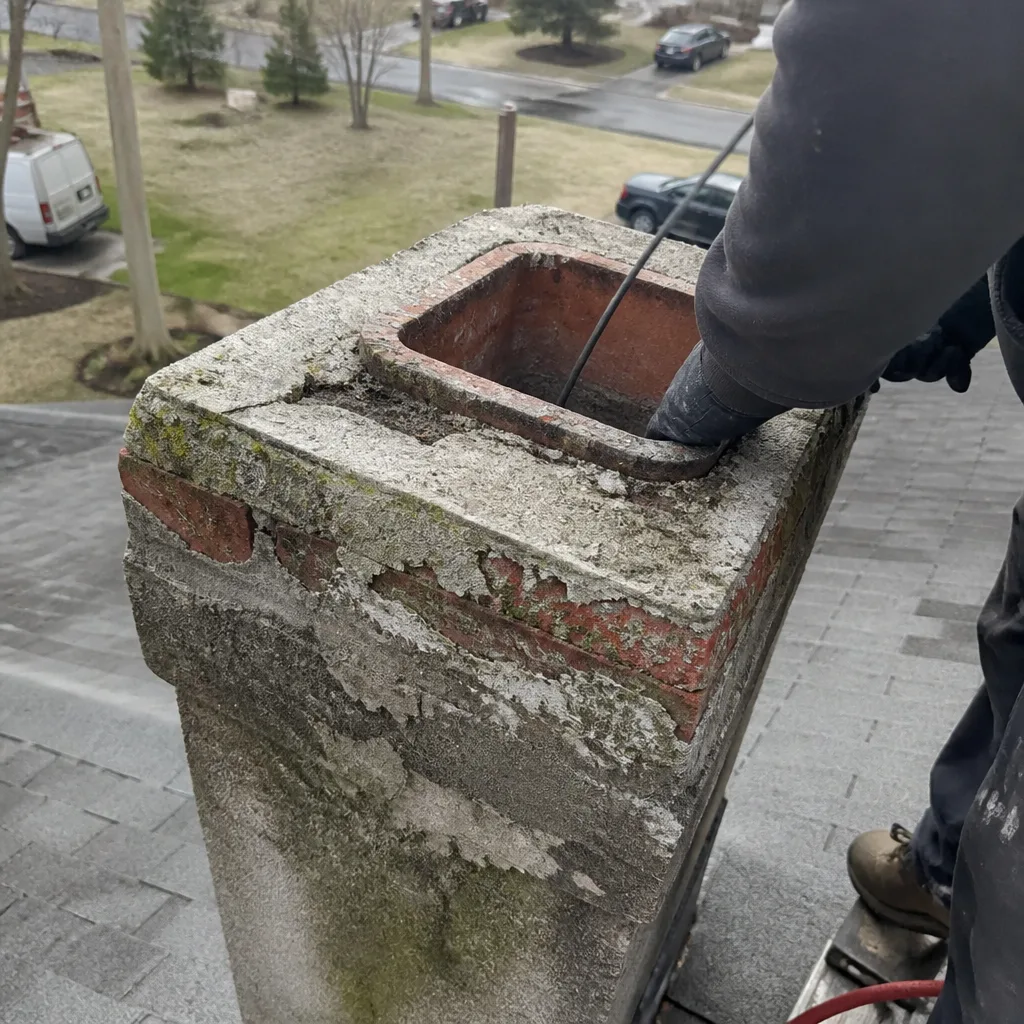 Before
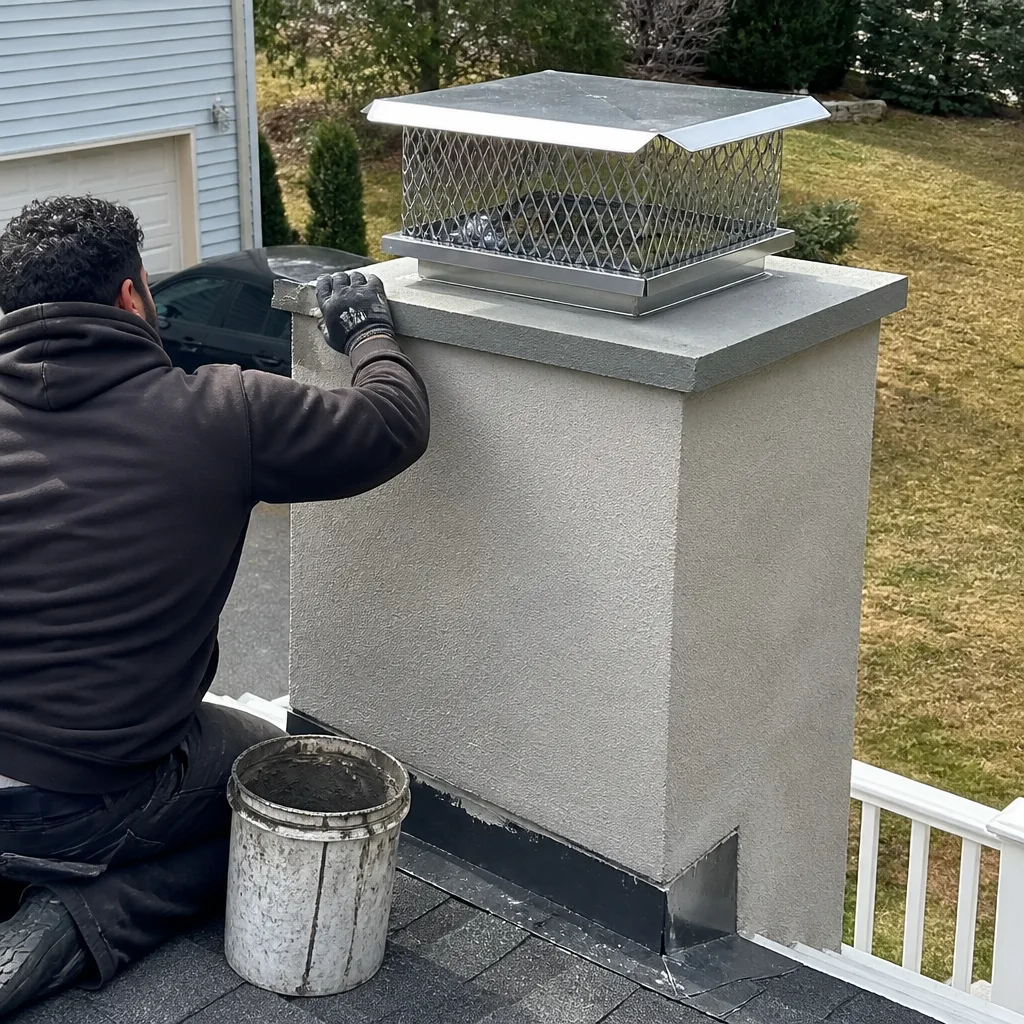 After
AfterGelco Flue Liner Replacement: The Dix Hills Owner’s Guide
If your Gelco flue liner has cracked, separated, or started spalling, we stock Gelco-compatible replacement liner kits and install them throughout Dix Hills, usually within a week of your call. Installed replacement typically runs $2,200 to $4,800 depending on liner diameter, chimney height, and access from the roof. Most Dix Hills homeowners discover the problem during an annual inspection, or because they notice flaky sand-like material collecting at the base of the firebox where the liner has begun to shed.
Top Hat Chimney is an independent chimney service. We’re not affiliated with Gelco, but we’ve worked with their liner systems long enough to know exactly which kits fit which chimneys, and when a liner can be saved instead of replaced. If it does not need replacing, we’ll tell you that plainly and put the money back in your pocket.
Which Gelco Models This Applies To
Gelco manufactures stainless steel chimney liner kits in standard diameters: 5.5″, 6″, 7″, and 8″. Most Dix Hills homes with a Gelco liner installed in the last 20 years are running either the 6″ or 6.5″ round liner, typically paired with an oil furnace or a wood-burning fireplace insert. Your liner’s size is stamped on the cap or the top plate, but the easiest way to confirm is to look at the appliance it vents. Oil burners almost always run 6″; open fireplaces can run anywhere from 6″ to 8″ depending on flue tile dimensions.
A common compatibility gotcha: Gelco liner kits use a specific coupler and top-plate design that doesn’t always play nicely with off-brand connectors. We’ve seen homeowners buy a generic liner kit from a big-box store, then find the top plate won’t seat correctly on the existing Gelco termination cap. If you’re replacing only the liner and keeping your old cap, you need to match the cap’s inner diameter to the liner’s outer diameter. Get that wrong by an eighth of an inch and you’ll be back on the phone ordering a second kit. We keep Gelco-compatible liners in the common sizes on the truck, along with DuraFlex and HeatShield components for when a full reline makes more sense than a patch job.
Signs Your Gelco Flue Liner Replacement Is Failing
- Sand-like grit piling up in the cleanout or firebox. This is spalling from the liner’s interior surface. In Suffolk County’s humidity, condensation inside the flue car gets acidic, and that acid eats at the liner wall from the inside out. By the time you see grit, the liner is usually compromised along several feet of its length.
- Rust streaks or stains running down the exterior of the chimney chase. A failed liner lets moisture through to the masonry or framing behind it. On Dix Hills homes with wood-framed chases, this shows up as dark staining near the roofline within one or two winters.
- Faint oil or exhaust smell in the basement or utility room. A liner with a crack anywhere along its run is no longer keeping combustion gases inside the flue. The smell comes and goes with wind direction, but it’s a sign the liner is no longer the sealed path it was designed to be.
- The furnace or boiler keeps tripping or short-cycling. A liner that has collapsed inward restricts the draft, which starves the burner for air and trips safety switches. If your service tech keeps telling you the burner is fine but the unit keeps shutting off, look at the flue.
- Visible cracks or gaps at the liner’s seams or couplers during an inspection. This is the one we catch with the camera. Gelco liners are sectional; the couplers are the weak point, and thermal expansion over years of heating cycles works them loose. Once a coupler separates, the liner is no longer rated for use.
Replacement Cost & What’s Included
For a standard single-story Dix Hills ranch with a straight flue run, a Gelco-compatible liner replacement typically lands between $2,200 and $3,400 installed. Two-story homes or chimneys with offsets push closer to $3,800 to $4,800, mostly in labor and access equipment. The liner kit itself is usually $900 to $1,600 depending on diameter and length; the rest is labor, the top plate and rain cap if yours can’t be reused, and haul-away of the old liner.
Every quote includes the camera inspection before and after, the new liner, all couplers and connectors, top-plate work, and a final draft test so you can see the system pulling correctly before we leave. The 90-Day Done Right Promise covers the whole installation in writing. If anything we did isn’t right, one call brings Wendell and his crew back at no additional cost. And if you have a competing written estimate, bring it; Wendell will give you a free second opinion and tell you honestly whether it’s a fair number or a blow-out.
DIY or Call Us?
You can check a few things yourself. Look for grit in the cleanout. Check for rust stains on the chase. Shine a flashlight up from below if the flue is straight and you can get a clear view of the liner wall. But actually pulling and replacing a liner means getting on the roof, disconnecting the appliance connection, unfastening the top plate, and feeding 20 to 35 feet of stainless steel down a flue without tearing it on the tile. In Dix Hills, where two-story colonial rooflines with steep pitches are common, this is not a weekend project. A liner that gets kinked during installation has to be pulled and scrapped. We’ve fixed more than one homeowner installation that went sideways halfway through, and it always costs more than if we’d done it from the start. If you’re on the fence, call (631) 318-8656. We’ll walk you through what you’re seeing and give you an honest read on whether this is a job for us or a job for your tool chest.
FAQs
A Gelco stainless liner in Suffolk County typically lasts 15 to 20 years before the seams and couplers start to fail, though coastal-adjacent homes or units burning high-sulfur oil may see failures at 10 to 12 years. The shorter lifespan here is driven by condensation and acidic flue gases, not the liner itself. If yours is past the 15-year mark and showing any of the signs above, it’s worth a camera look before winter. Call (631) 318-8656 and we’ll schedule an inspection that shows you exactly what’s left on the liner’s service life.
Small pinholes or a single separated coupler can sometimes be addressed with a patch or coupler replacement, but any crack longer than a few inches, significant spalling, or a collapsed section means the liner’s structural integrity is gone and it must be replaced. Wendell will show you the camera footage and give you a plain-English verdict, every time, no exceptions. If it can safely be repaired, that’s what he’ll recommend. Call for a straight answer and a free estimate.
Most Gelco liner replacements are completed in one day. The job involves removing the old liner, prepping the flue, feeding the new liner down, reconnecting at the appliance, and sealing the top with a proper rain cap. If we find damage to the crown or flue tiles during the job, that may add a second day. We’ll price the whole scope before a single tool comes off the truck. If you’d like to book a date, call (631) 318-8656.
We stock Gelco-compatible liners in the sizes most common to Dix Hills homes, along with DuraFlex and HeatShield options. You don’t need to buy parts ahead of time. If you have a written quote from another contractor that lists a specific liner brand or part number, bring it in; Wendell will check it against what he’d actually install and give you a free second opinion. Call (631) 318-8656 to get started.
Written by Wendell Pike, Owner, Top Hat Chimney at Top Hat Chimney, serving Dix Hills and nearby areas.